Subtitler:Update timecodes from a changed spotting from the Avid
You have created subtitles and imported them into the Avid. The sequence was reedited and you have changed the spotting in the Avid. You now want to update the spotting in the subtitler document (which already has a spotting or not). This pages explains you step by step how to update a spotting.
1. Load the sequence into the timeline.

2. Open EDL Manager, select the menu Windows:Options and set
Format: CMX_3600
- (x) Comments
- (x) Clip Names

3. Click on Save As... and save it as "Subtitles" for later use.

4. Select the menu Windows:EDL Mgr. Select the video track of the subtitles (here V2) and deselect the Audio tracks 1 and 2.

5. Click on the right arrow to send the sequence from the Avid timeline to EDLManager.

6. Wait until the EDL is visible.

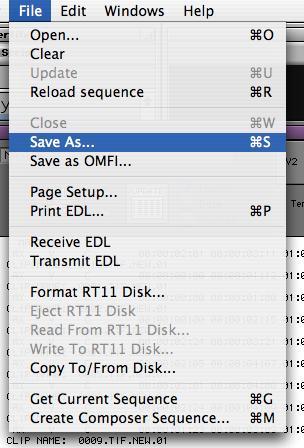
7. Select the menu File: Save As.. to save the EDL. Take care naming the EDL.
8. Open Subtitler, select the menu Tools:Import and set
- Format: CMX 3600
Click on Import and select the EDL you have exported.
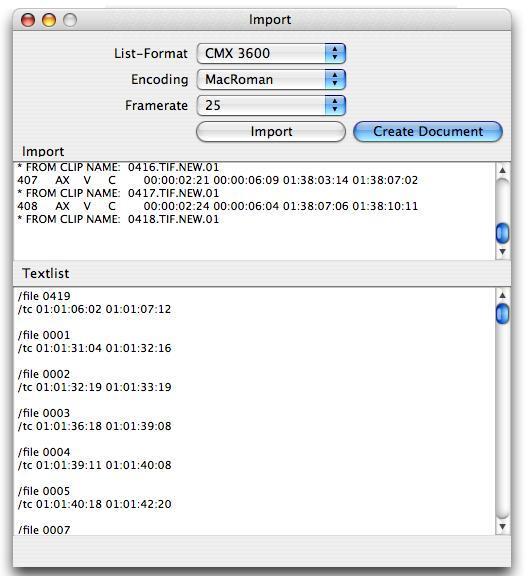
9. Click Create Document.
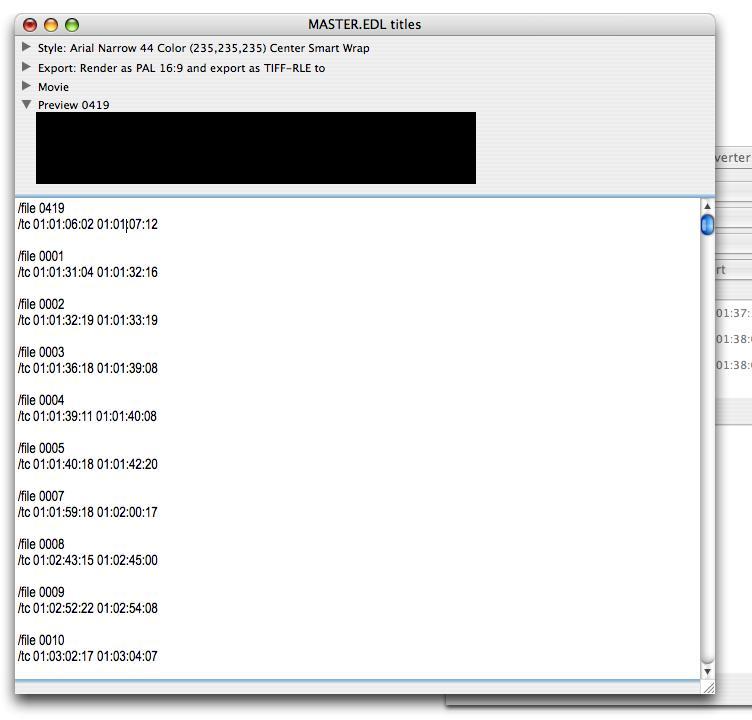
10. Close the Import tool and open your original subtitler document.
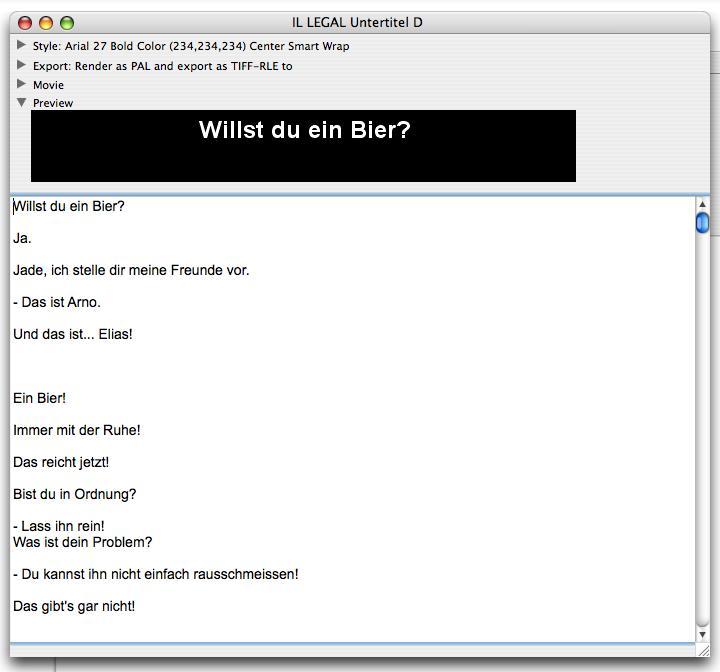
11. Select the menu Tools:Spotting Set the first pulldown menu to your subtitler document, select Create New File (we do not want to overwrite the old file), and in Update Timecode set the Reference File.
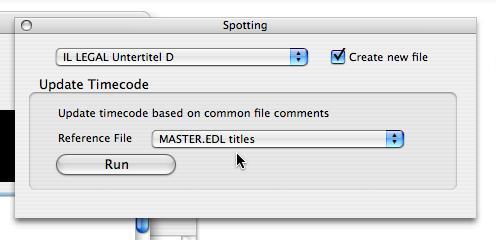
12. Click the Run Button and a new subtitler document is created with the new spotting. Save the file.
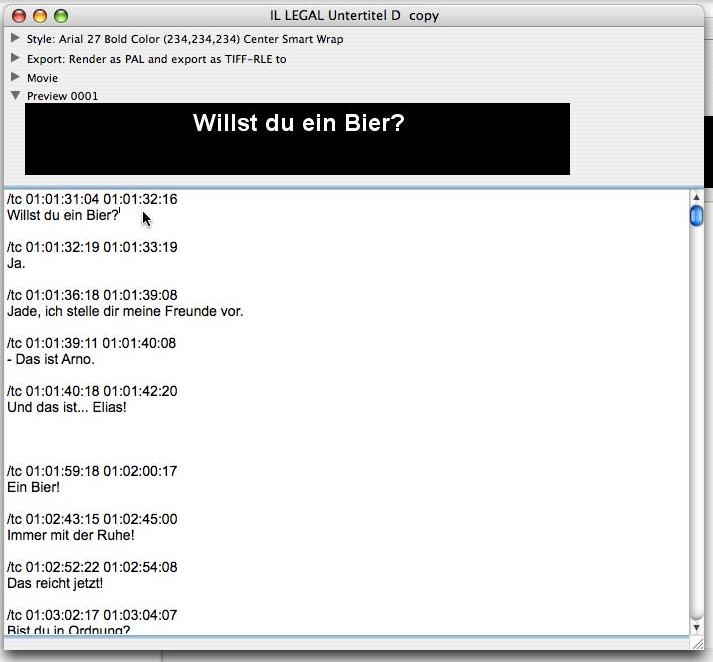
Note: This exemple even does not have spotting yet nor filenames, so automatic filenaming is assumed. If filenames are present, update is based on filenames.
